


Sebastian Pontus
Smart Home with the Photon Robot #2 – remote audio monitoring vs. burglars
Class goal:
- the meaning of the term smart home and its principle of operation
- how to use the “Repeat” and “Wait until” instructions
- how to use the screen sharing feature in Microsoft Teams platform and remotely control another computer (server-client communication)
- how to write a program (create a code) to control events on a computer screen using the robot’s sensor
Teaching methods:
- explanatory talk
- brainstorming
- simulation
Type of exercise:
- group
- individual
Required items:
- laptops (PCs) with Microsoft Teams application installed
- a smartphone or tablet with a camera to be connected via the MS Teams platform
- two (x2) independent MS Teams accounts (an account on a teacher’s laptop (server) and an account on a smartphone/tablet – to stream live video from the camera)
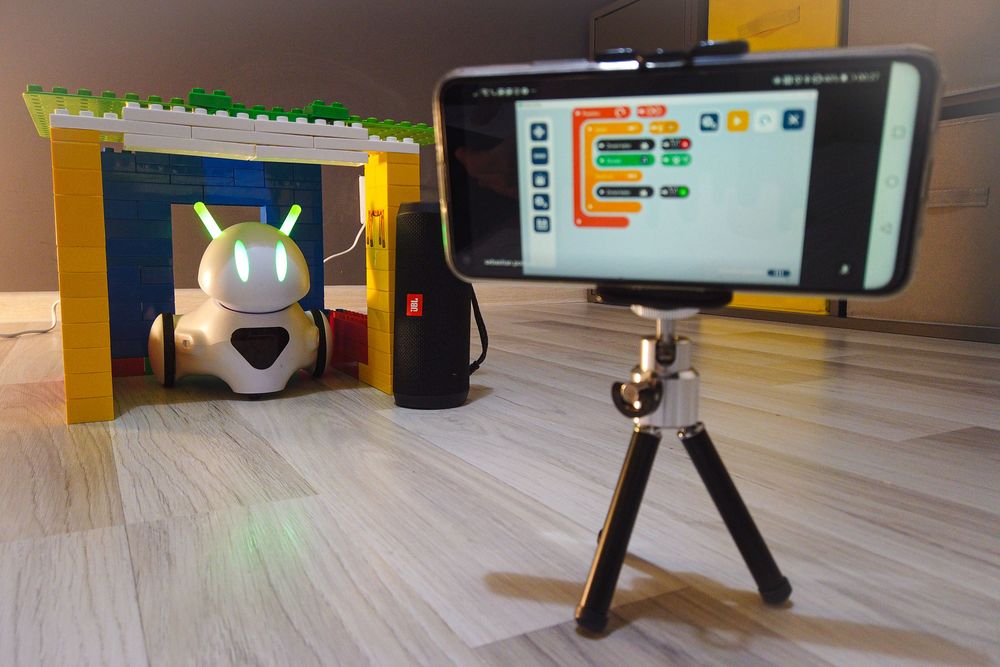
- cardboard house or a model house for the Photon Robot
- (optional) Bluetooth speaker connected to the teacher’s computer (wireless audio transmission)
- Interactive exercises on the Genial.ly web app: http://bit.ly/Smart_Home_Sound_sensor
Attachments:
Lesson scenario:
THIS LESSON SCENARIO IS A CONTINUATION OF OUR “SMART HOME WITH THE PHOTON ROBOT” SERIES. THE FIRST SCENARIO FROM THIS SERIES (How to control lights at home remotely)
LESSON PREPARATION:
A detailed description of how to prepare for the lesson is available in previous scenario (How to control lights at home remotely).
Lesson scenario:
1. Introduction
- Please greet the students and check the connection’s quality, i.e., video, microphone, speaker. Remind all participants of the basic rules of online classes.
- Inform students that they can use the “raise hand” feature in MS Teams application at all times.
- Please mention that there is an additional account/tool in your group (a smartphone/tablet). From this account, students will only receive a live video stream.
2. Warm-up
- Send students a link to a virtual SUDOKU game as an introduction to the topic. Ask the students to guess how the presented images relate to the Photon Robot.
Link: http://bit.ly/Smart_Home_Sound_sensor (Slide 2) - Students can solve tasks individually on their own computers, or you could share the screen and make it a shared group task.
- Students should notice two dependencies:
- Loudspeaker vs. sounds made by the robot
- Sound sensor vs. reaction to a detected noise / no noise
3. A smart home – benefits
- If this is a consecutive lesson on this topic, you can skip questions about a smart home’s benefits.
- Instead, try to recall instructions, challenges, or issues from previous classes.
4. Elements of the smart home – sound
- Ask students for practical examples of using an audio system (speakers only, for now) in a smart home set up.
- You can make it an individual task or ask students to work in groups so that they could jot down their ideas on an interactive whiteboard (e.g., https://explaineverything.com/).
- Below are sample responses you should be getting:
- leaving information to other people in a household (e.g., a child comes back home, opens the door, and hears a playback of a message from parents on a speaker “I popped out to the shop, I’ll be back in a minute”)
- emergency information – e.g., carbon monoxide detected in the air – quickly open the windows
- automatically play music when you get back home (why not? )
5. Smart Home in practice – playback, recording messages (Photon Joystick)
- At this point, launch the Photon Magic Bridge application and connect to the Photon robot. Then run the Joystick interface inside the application.
- Switch over to the MS Teams and share your screen (Photon Magic Bridge runs in the background) to show the Joystick interface.
- Explain the principle of this remote class with the Photon Robot, i.e., students have two accounts:
- (a) one account allows controlling the robot from their computers remotely. Students must ask for permission to access and control the robot (MS Teams command: “Give control”).
- (b) the second account live streams video from the robot’s surroundings.
- Ask students to use the “Give control” feature to access the programming interface on the teacher’s screen. Ask them to prepare and provide several audio files/sounds (e.g., recorded voice messages) on their computers that the robot will later play in the teacher’s home. Students will hear in their own speakers sounds coming from the teacher’s home (sounds go through the teacher’s microphone).
- Ask students to program the robot so that when the robot detects an obstacle (e.g., a wall), it plays a specific sound (a message) or changes eyes/ears color.
6. Smart Home in practice – the sound sensor (Photon Blocks)
- Explain that the next element you can use in a smart home is a sound sensor. They will now program the robot’s in-built sound sensor to make it a listening device that triggers an alarm during our absence.
- We want the controller to detect and react to a noise in the house, i.e., to activate an alarm signal.
- The main controller in the house and a sound sensor at the same time is the Photon Robot, of course.
- First, working as a group, ask the students to put the scattered words into an intelligible instruction for the robot (Genial.ly – Slide 3)
- Ask students why the alarm should go off repeatedly/or be played in a loop until it is manually turned off. (Answer: when someone turns it off, we guarantee that the alarm was heard and served its purpose).
- Ask students to read the scenario and create an appropriate program in the Genial.ly web app. At the same time, ask one of the students to whom you gave control over your screen to create a program individually for the same given scenario in the Photon Blocks interface (Genial.ly, Slide 4).
- As you are the only one in the robot’s close vicinity, it is your role to make some noise (e.g. clap your hands) and test if the robot responds to the noise.
- Students observe the robot’s reaction on the “video account”.
- In the second attempt, ask the students to start their program, wait three seconds, and then shout together, e.g., aargh! (The robot’s sensor should pick up the noise and respond to the sound coming from your speakers).
- Show students the difference between the first test activity and the second attempt. In the first run, the robot reacts to a sound in its immediate vicinity. In the second case, the robot reacts to a remote sound coming from a much greater distance (from your students’ homes).
7. Smart Home in practice – the sound sensor (Scratch interface)
- Ask students to create a similar program in Scratch, but add one more important element. When the alarm goes off, the robot should alarm us with a specific message on the screen (Scratch scene).
- If this is the first lesson with the Scratch interface using the Photon Robot, please introduce students to the concept of a scene and a sprite and the possibility of changing parameters.
- If this is not their first class with this tool, the students should have no problem creating a program in Scratch that is based on the previous program created with the Photon Blocks interface.
- Explain the procedure:
-
- First of all, students must remove the sprite.
- Then load a new sprite – a robot with green ears (bottom right corner -> select sprite -> load sprite).
- Then go to the costume tab (next to the “Script”) to choose a costume (bottom left corner) -> Upload costume (a robot with red ears).
- In the costume’s tab, students must select the green sprite as the first one to use.
- Ask students to create an appropriate program in the Genial.ly web app (Slide 5). At the same time, one person creates the same program individually using the Scratch interface.
- Once done, ask this student to run the program, so the rest of the group could observe the robot’s reaction. They should use the two extra accounts (the camera and shared Scratch screen, i.e., the costume change screen).
- After turning on, the robot makes some “noise” to start the program.
- Together with your students, assess the program, and correct it if necessary.
- As an extra exercise suggest that students could create other similar programs.
8. The Lesson Summary
- Prepare for the lesson summary. Ask the students to name several benefits of having a smart home and the possibilities of a remote audio playback.
- If you are planning to conduct the next class from the “Smart Home with the Photon Robot” series, announce it by saying: “In your next class, we will talk about an infrared sensor in your smart home set up.”
Interesting facts / Questions time
To continue this series of classes, go to the next lesson scenario – “Smart Home with Photon Robot – an infrared sensor".
Related resources
- Smart Home with Photon robot #1 - How to control lights at home remotely: https://portal.photon.education/en/scenario/79-smart-home-with-photon-robot-how-to-control-lights-at-home-remotely-remote-classes-using-microsoft-teams
- Smart Home with the Photon Robot #3 – an infrared sensor: https://portal.photon.education/en/scenario/123-smart-home-with-the-photon-robot-an-infrared-sensor